

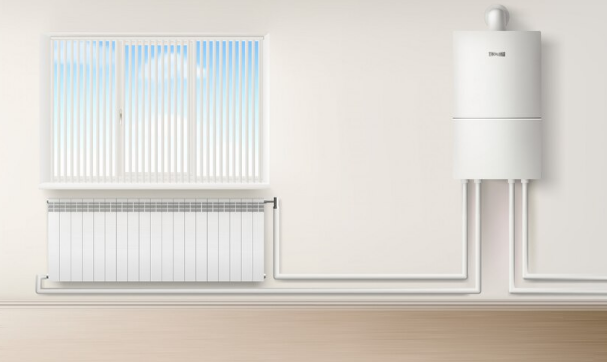
Once or twice a year, your water heater needs more than just a quick glance. To keep it working smoothly and extend its functional lifespan, homeowners can perform basic yet powerful DIY water heater maintenance. These essential tasks help prevent common issues that may otherwise demand costly water heater repair or even a full water heater service visit.
Water heating systems often go unnoticed—until they stop working. Instead of waiting for an emergency, proactive maintenance ensures your unit delivers steady hot water and avoids mineral buildup, corrosion, or pressure valve issues. This guide walks you through practical maintenance you can do without needing specialized tools or advanced skills.
Why Routine Maintenance Matters
Routine water heater service helps reduce energy usage, improves efficiency, and keeps your system running safely. Over time, sediment accumulates at the bottom of the tank, especially if you live in a region with hard water. This sediment acts as insulation, forcing your heater to use more energy and increasing your utility bills. With some simple steps, you can combat these effects and avoid a sudden need for professional water heater repair.
Tools You’ll Need
Before diving into the process, gather the following tools and materials:
-
Garden hose
-
Flathead screwdriver
-
Bucket
-
Teflon tape
-
Adjustable wrench
-
Socket wrench (optional for anode rod inspection)
Having these on hand ensures you're prepared for all basic tasks without any mid-job interruptions.
Step 1: Turn Off Power or Gas Supply
Safety comes first. If you have an electric water heater, locate and switch off the power at your circuit breaker. For gas units, rotate the thermostat to the pilot setting. This step is critical in avoiding electric shocks or gas leaks while servicing the unit.
Step 2: Drain the Tank
Sediment buildup can significantly affect performance. Connect a garden hose to the drain valve near the bottom of the unit, leading the other end to a floor drain or large bucket. Open the valve and allow several gallons to flow out, carrying sediment with it. To allow full drainage, open the pressure relief valve or hot water tap nearby. This flow-through prevents blockages.
Draining the tank every 6 to 12 months can dramatically reduce your need for water heater repair caused by overheating or pressure buildup.
Step 3: Inspect the Anode Rod
The anode rod prevents your tank from rusting by attracting corrosive elements. Over time, this rod depletes and needs replacement. Unscrew it from the top of the tank (you may need a socket wrench). If more than 6 inches of the core wire is visible or the rod is less than ½ inch thick, it’s time for a replacement.
Keeping the anode rod in top shape ensures fewer corrosion-related service needs, which can otherwise compromise your system’s structural integrity.
Step 4: Test the Temperature and Pressure Relief Valve
This safety device prevents explosions caused by excess pressure. Lift the valve’s lever slightly—water should discharge through the overflow tube. If nothing happens, or the valve leaks afterward, it needs replacing. This is a vital safety feature, so don’t skip this check.
A malfunctioning T&P valve can lead to emergencies, which will inevitably require urgent water heater service to avoid severe damage.
Step 5: Check for Leaks and Corrosion
Inspect around the base of the unit and at connection points. Look for signs of moisture, rust, or mineral crusting. Tighten fittings if needed and use Teflon tape for any minor leaks. Addressing small issues early reduces the chances of larger system failures that require professional water heater repair.
Step 6: Insulate the Heater and Pipes
Wrapping your tank and hot water pipes with insulation blankets or foam sleeves can reduce heat loss by up to 45%. This step improves energy efficiency and decreases the workload on your heater, ultimately reducing the frequency of full-scale water heater service.
Be cautious not to cover the thermostat or burner area when insulating.
Step 7: Restore Power or Gas
Once all checks and services are complete, close the drain valve, remove the hose, and restore water supply to fill the tank. Only once it’s completely refilled should you turn the power or gas supply back on. This final step protects the heating element from damage.
Ongoing Tips for System Longevity
-
Set the thermostat to 120°F to balance efficiency and comfort
-
Drain the tank partially every few months in hard water areas
-
Monitor your water's clarity and odor—cloudy or smelly water may indicate buildup or bacteria growth
-
Schedule professional water heater service if you notice fluctuating temperatures, noises, or rusty water
Properly maintaining your unit ensures fewer breakdowns and less frequent water heater service over time. With just a bit of effort each year, your system will reward you with consistent performance and reduced energy bills.
Maintaining your system proactively makes your home safer, more energy-efficient, and less prone to sudden issues. For homeowners who want to minimize surprise expenses, this approach offers a smart path forward—making water heater service or water heater repair a planned decision rather than a last-minute panic.
