


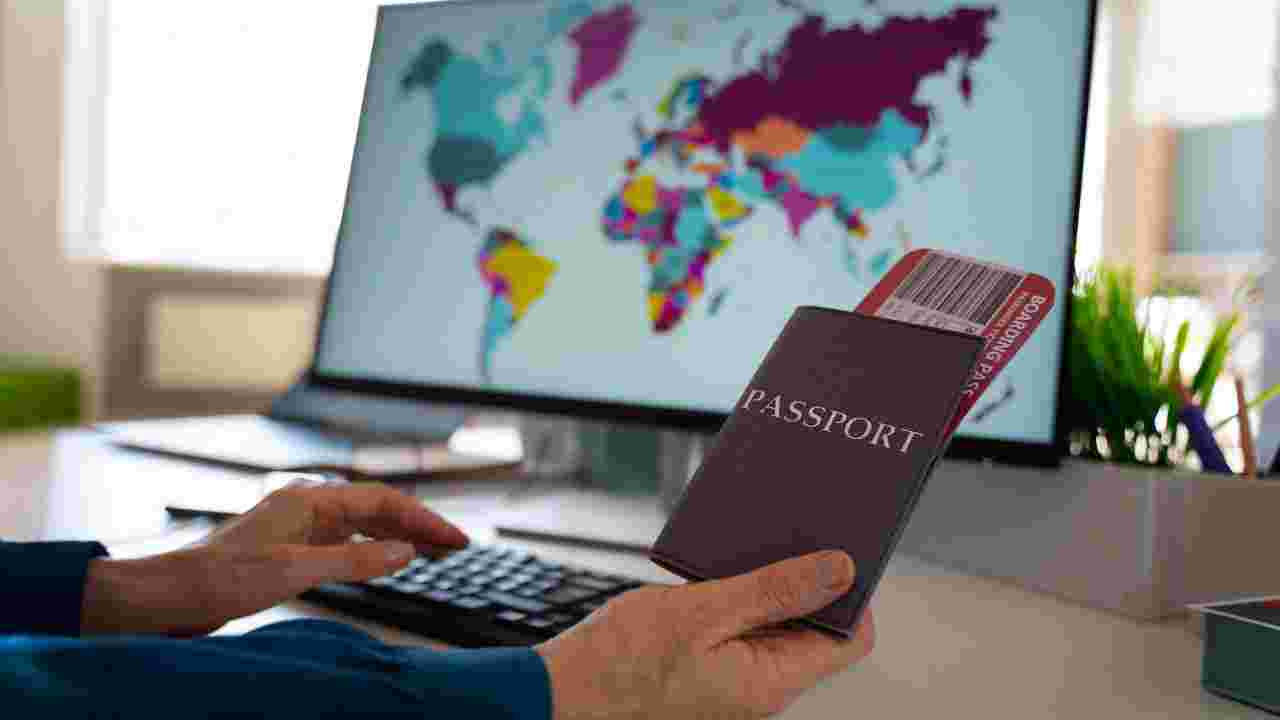
Traveling abroad is an exciting adventure, but before boarding a flight to your dream destination, one crucial step often stands in the way: obtaining a visa. Traditionally, applying for a travel visa meant standing in long queues at embassies, dealing with endless paperwork, and spending valuable time navigating navigating procedures. Fortunately, technology has changed the game. Today, most countries offer travel visa online application systems that make the process far more convenient and efficient.
If you’re planning an international trip and wondering how to start your application journey, this comprehensive step-by-step guide to applying for travel visas online will simplify everything for you. Whether you’re a first-time traveler or a seasoned explorer, following these steps will save you time, reduce stress, and ensure you’re fully prepared for a smooth visa approval process.
Why Apply for a Travel Visa Online?
Before diving into the process, it’s essential to understand the advantages of online applications compared to traditional methods. Here are some of the biggest benefits:
-
Convenience: Visits or waiting in long lines; you can apply from the comfort of your home.
-
Faster Processing: Many countries prioritize online applications, speeding up approval times.
-
24/7 Access: You can submit your documents anytime, from anywhere in the world.
-
Simplified Tracking: Most platforms allow you to track your application status in real time.
-
Digital Records: Your information and supporting documents are stored securely, making renewals or reapplications easier.
With these advantages, it’s no wonder that millions of travelers are choosing online visa applications over traditional methods.
Step-by-Step Guide to Applying for Travel Visas Online
Applying for a visa online may seem intimidating at first, but it becomes easy when broken down into manageable steps. Below, we’ll take you through the entire process in detail.
Step 1: Identify the Visa Type You Need
Every trip is unique, and so are the visa requirements. Start by identifying the type of visa that matches your purpose of travel:
-
Tourist Visa – For leisure and sightseeing trips.
-
Business Visa – For attending meetings, conferences, or short-term work-related activities.
-
Student Visa – For long-term academic studies or training programs.
-
Transit Visa – For passing through a country en route to another destination.
-
Work Visa – For those employed or contracted abroad.
Step 2: Create an Account or Register
Most visa platforms require you to register with an account. This is where you’ll fill in personal details such as:
-
Full Name
-
Passport Number
-
Date of Birth
-
Nationality
-
Contact Information (email, phone)
Having an account allows you to save progress, track your application, and receive notifications about updates.
Step 3: Fill Out the Visa Application Form
This is the core step in the process. The form typically includes questions about:
-
Personal Information – Name, address, marital status.
-
Passport Details – Passport number, issue date, expiration date.
-
Travel Information – Purpose of travel, dates of entry and exit, accommodation details.
-
Background Questions – Previous travel history, employment status, or security-related inquiries.
Be meticulous when filling out the form. Even small mistakes, like typos in your name or incorrect passport numbers, can cause delays or outright rejection.
Step 4: Gather and Upload Required Documents
Each country has specific travel visa documentation requirements, but common documents include:
-
Valid Passport (with at least 6 months of validity)
-
Passport-sized Photographs (meeting official guidelines)
-
Proof of Accommodation (hotel bookings, host invitation letter)
-
Flight Itinerary (round-trip tickets or confirmed bookings)
-
Proof of Financial Means (bank statements, salary slips)
-
Travel Insurance (sometimes mandatory)
Will allow you to upload scanned copies in PDF or JPEG format. Ensure your documents are clear, legible, and meet the file size requirements.
Step 5: Pay the Visa Fee Online
After submitting your documents, you'll be asked to pay the visa processing fee. Payments are typically accepted through:
-
Credit/Debit Cards
-
Online Banking
-
Secure Payment Gateways like PayPal
Keep a copy of your payment receipt—it may be required during immigration checks.
Step 6: Book an Appointment (If Required)
Some countries still require applicants visa center for biometric verification (fingerprints, photos) or interviews.
If this applies to your visa, you'll be prompted to book an appointment at a convenient location. Attend the appointment with original documents and payment proof.
Step 7: Submit the Application
Once everything is complete, review your application carefully. Check spellings, uploaded files, and travel dates. After final confirmation, click submit.
You'll usually receive a confirmation email with an application reference number. Use this number to track your progress.
Step 8: Wait for Processing
Visa processing times vary depending on the country, visa type, and your nationality. Some approvals take only a few days, while others may take weeks.
During this time:
-
Regularly check your email for updates.
-
Monitor the application using your reference number.
-
Avoid making non-refundable travel bookings until you receive confirmation.
Step 9: Receive Your Visa
Finally, once your application is approved, you'll receive your visa. In many cases, this will be an eVisa delivered directly to your email. Print out at least two copies—one to carry during travel and another as a backup.
Some countries may issue a visa sticker that you must collect.
Common Mistakes to Avoid When Applying Online
Many applicants face delays or rejections due to avoidable mistakes. Here's what to watch out for:
-
Incorrect Passport Information – Double-check every digit and spelling.
-
Poor Quality Documents – Blurry or cropped scans may lead to rejection.
-
Wrong Visa Type – Applying for the wrong category can waste weeks of processing.
-
Late Applications – Apply at least 4–6 weeks before your travel date.
Pro Tips for a Smooth Online Visa Application
-
Apply Early: Never leave it to the last minute.
-
Stay Organized: Keep digital and hard copies of all your documents.
-
Check Updates Regularly: Some countries change visa rules frequently.
-
Use Professional Photos: Follow specific size and background requirements.
-
Consider Travel Insurance: Many countries require proof of coverage.
Final Thoughts
Applying for a travel visa online can be straightforward and stress-free. By preparing in advance, organizing the necessary documents, and paying attention to detail, you can navigate the process with ease and confidence. This Step-by-Step Guide to Applying for Travel Visas Online covers everything—from selecting the appropriate visa to monitoring your application until it's approved.
