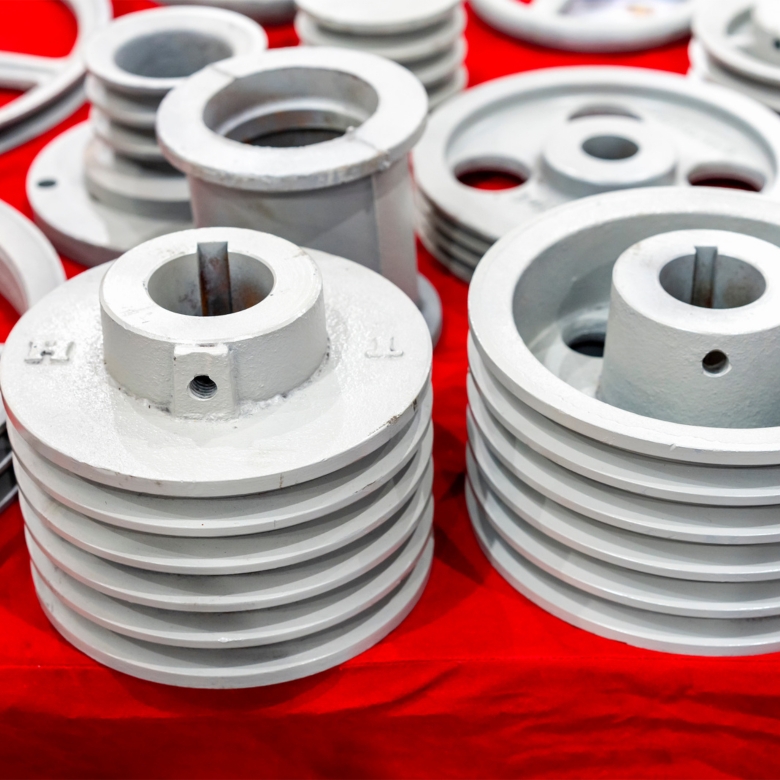
Sand casting is a versatile and widely used method for creating metal parts. It's a process that has been employed for centuries, offering both simplicity and effectiveness in producing intricate components. Whether you're a hobbyist or a professional, mastering sand casting parts can open doors to endless possibilities in creating custom metal parts. In this guide, we'll take you through the step-by-step process of sand casting parts, from preparing your mold to finishing your final product.
-
Designing Your Part: Before diving into sand casting, it's crucial to have a clear design of the part you intend to create. Utilize CAD software or hand sketches to conceptualize your part, considering factors such as dimensions, tolerances, and surface finish.
-
Selecting Materials: Choose the appropriate metal alloy for your part based on its intended use and properties required. Common metals used in sand casting include aluminum, brass, bronze, and cast iron. Ensure your chosen metal is compatible with the sand casting process.
-
Preparing the Sand Mold: Start by preparing the mold, which consists of two halves: the cope and the drag. Mix high-quality casting sand with a binder (typically clay) and water to achieve the desired consistency. Pack the sand mixture into the flask (a frame used to contain the sand), ensuring it's evenly distributed and compacted.
-
Creating Patterns: Patterns are replicas of the desired part and are used to form the cavity within the sand mold. Craft your pattern using wood, plastic, or metal, ensuring it's slightly larger than the final part to account for shrinkage. Place the pattern in the drag and pack sand around it to create the first half of the mold.
-
Forming the Mold Cavity: Once the drag is filled, remove the pattern carefully, leaving behind the imprint of the part. This cavity will be where the molten metal is poured. Next, place the cope over the drag, aligning the two halves precisely. Secure the cope and drag together, ensuring a tight seal.
-
Pouring the Metal: With the mold prepared, it's time to melt the metal. Use a furnace or foundry to heat the metal to its molten state, following safety precautions and wearing appropriate protective gear. Once molten, carefully pour the metal into the mold cavity through a designated sprue (a channel that directs the flow of metal).
-
Cooling and Solidification: Allow the metal to cool and solidify within the mold. The cooling time will vary depending on the size and complexity of the part, as well as the type of metal used. Avoid disturbing the mold during this critical phase to prevent defects in the final part.
-
Removing the Casting: Once the metal has cooled and solidified, dismantle the mold carefully to reveal the casting. Remove any excess sand and gating system components (such as the sprue and risers) using appropriate tools. Be cautious when handling the casting, as it may still be hot or sharp.
-
Finishing Operations: Post-processing may be required to achieve the desired surface finish and dimensions. This may involve machining, grinding, sandblasting, or other methods to refine the casting to meet specifications.
-
Inspection and Quality Assurance: Thoroughly inspect the casting for any defects or imperfections, such as porosity, shrinkage, or surface irregularities. Conduct dimensional checks to ensure accuracy and adherence to design specifications. Address any issues through appropriate remedial actions.
-
Final Assembly (if applicable): If your part is part of a larger assembly, proceed with any necessary assembly steps to integrate it into the final product.
-
Documentation and Record-Keeping: Maintain detailed records of the sand casting parts, including design specifications, material selection, process parameters, and inspection results. This documentation serves as valuable reference for future projects and quality control purposes.
By following these steps, you can master the art of sand casting parts and create high-quality metal with precision and efficiency. Remember to continuously refine your techniques through practice and experimentation, unlocking endless possibilities in metalworking.


