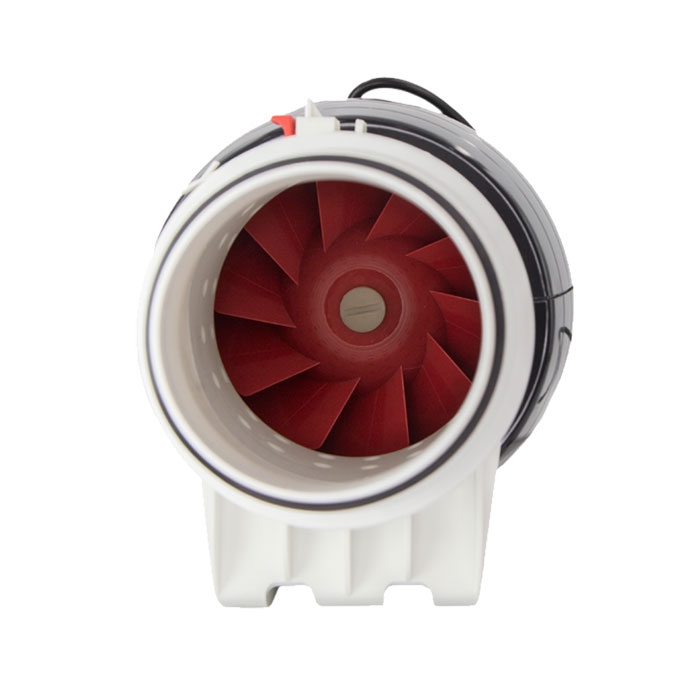
Proper ventilation is essential for maintaining air quality, reducing moisture buildup, and preventing odors in enclosed spaces. An exhaust fan is a powerful tool that promotes better airflow and eliminates excess humidity, making it indispensable in spaces like kitchens, bathrooms, and utility rooms. If you're planning to install an exhaust fan, follow this step-by-step guide to ensure a seamless installation process.
Step 1: Choose the Right Exhaust Fan
Selecting the appropriate exhaust fan is crucial for effective ventilation. Consider the following factors:
- Room size: Match the fan's cubic feet per minute (CFM) rating to the size of the room.
- Noise level: Opt for a quieter fan, especially for bedrooms or living areas.
- Energy efficiency: Look for energy-efficient models to save on electricity bills.
- Special features: Some fans come with integrated lights or humidity sensors for added convenience.
Step 2: Determine the Installation Location
Identify the ideal spot for your exhaust fan. For bathrooms, position it near the shower or bathtub to effectively remove moisture. In kitchens, install it above the stove or cooking area to expel smoke and odors. Ensure the location allows for proper venting to the exterior of the building.
Step 3: Gather the Necessary Tools and Materials
Before starting the installation, collect the following tools and supplies:
- Drill and screws
- Measuring tape
- Screwdriver
- Vent duct
- Exterior vent cap
- Electrical wiring and connectors
Step 4: Cut the Hole for the Exhaust Fan
Using a template provided with the fan, mark the area on the ceiling or wall where the fan will be installed. Cut a hole with a drywall saw, ensuring the dimensions match the fan housing.
Step 5: Install the Fan Housing
Secure the fan housing to the ceiling joists or wall studs using screws. Double-check the alignment to ensure the fan is stable and properly positioned.
Step 6: Connect the Vent Duct
Attach the vent duct to the exhaust fan's outlet port. The duct should lead to an exterior vent to prevent moisture and air from accumulating inside the house. Secure the connection with duct tape or clamps for a tight seal.
Step 7: Wire the Fan
Turn off the power supply before wiring the exhaust fan. Follow the manufacturer's wiring diagram to connect the fan to the electrical system. Use wire nuts to secure the connections and ensure everything is properly grounded.
Step 8: Attach the Exterior Vent Cap
Install the exterior vent cap on the outside of the building where the duct terminates. This cap prevents rain, debris, and pests from entering the duct. Ensure it’s securely fastened and sealed to prevent leaks.
Step 9: Test the Fan
Turn on the power and test the fan to confirm it’s working correctly. Check for proper airflow and listen for unusual noises that might indicate loose connections.
Step 10: Final Touches
Finish the installation by attaching the fan grille or cover. Clean up any debris and inspect the area to ensure everything is securely in place.
Maintenance Tips for Longevity
- Regular cleaning: Clean the fan blades and grille periodically to prevent dust buildup.
- Inspect the ductwork: Check the vent duct for blockages or leaks that could hinder airflow.
- Replace filters: If your fan has filters, replace them as recommended by the manufacturer.
Benefits of a Properly Installed Exhaust Fan
An efficiently installed exhaust fan ensures:
- Improved indoor air quality
- Reduced moisture and mold growth
- Elimination of odors and airborne contaminants
- Enhanced comfort and energy efficiency
Conclusion
Installing an exhaust fan may seem daunting, but with careful planning and attention to detail, you can complete the project successfully. Whether you’re upgrading your kitchen, bathroom, or utility room, a well-chosen exhaust fan can transform the space by enhancing ventilation and comfort.
If you’re looking for high-quality exhaust fans, Astberg Ventilation offers a wide range of durable, efficient, and innovative solutions tailored to your needs. Visit their website today to explore premium ventilation products designed for every space.


