

Stand Banner is the best exhibition stand printing and manufacturing company in London, UK. With over 25 years of experience, we’ve perfected the art of crafting Exhibition Display Stands that blend sleek professionalism with rugged durability. Whether you’re a small business owner, a marketing manager, or an event organizer, this friendly guide will walk you through every step to ensure your next setup is fast, flawless, and fuss-free.
1. Plan Your Exhibition Space
Before you unpack anything, sketch out your booth layout. Measure the area allotted to you at the venue and note power sockets, lighting, and foot-traffic flows. This simple plan helps you choose the best stand size and configuration.
2. Choose the Right Stand Type
Stand Banner offers a variety of solutions: pop-up stands for ultra-quick setup, modular frames for flexible layouts, and fully custom options if you need something truly unique. No matter which you pick, you’ll enjoy tool-free assembly.
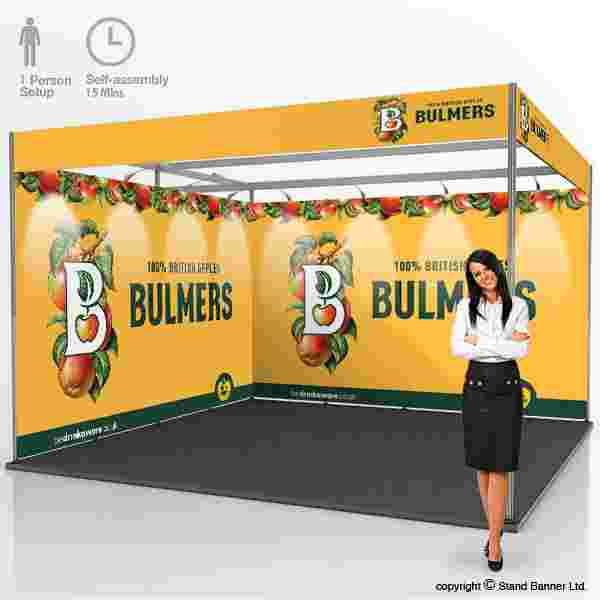
3. Design Your Graphics
Clear, on-brand graphics are key to grabbing attention. Stick to high-resolution images and concise messaging. And if you need a hand, our team provides free design advice—just ask!
4. Select Accessories and Extras
Shelves, headers, and storage compartments can elevate your display and keep your materials organized. Decide in advance what you need so you can pack everything together.
5. Inspect Hardware and Prints
Always check for missing or damaged parts before leaving the office. Lay out all poles, connectors, and fabric prints, and compare against the packing list. This prevents unpleasant surprises on the day.
6. Pack Smart for Transport
Use the wheeled flight case or carry bag provided. Wrap fragile components in bubble wrap and label each item. For overseas shows, confirm your shipment’s tracking number and customs documentation.
Stand Banner’s Exhibition Display Stands are designed to ship quickly—UK orders arrive in just 24 hours, and we handle global freight with ease.
7. Execute a Dry Run
If time allows, practice a full setup in your office or warehouse. This run-through highlights any tricky steps and builds confidence, ensuring you can assemble your stand in minutes at the venue.
8. Arrive Early and Unload
On the event morning, arrive at least one hour before doors open. Unload your case first, then wheel it inside. Locate your booth space and align your base plates before erecting the frame.
9. Step-by-Step Assembly
-
Lay out the frame on the floor.
-
Snap or twist poles together as per the numbered guide.
-
Slide graphic panels over the frame or click them onto place.
-
Add accessories like shelves or spotlights last.
10. Final Quality Check
Once assembled, step back and inspect from different angles. Smooth out any creases in the graphics, ensure logos are level, and confirm stability. Tweak as needed.
11. Troubleshoot Common Issues
-
Wrinkled Graphics? Gently smooth with a soft cloth or use a low-heat hairdryer.
-
Loose Poles? Tighten connectors and confirm you’ve used the correct clips.
-
Uneven Base? Check that all feet are touching the floor and adjust wing nuts.
12. Maintain and Refresh
After your event, pack components back into their protective case. Store away from moisture and heat. When you’re ready for your next show, swapping out graphics is quick and affordable—no need for a whole new stand.
With this checklist in hand, you’re set to create a professional, eye-catching exhibit in minutes. Trust Stand Banner’s expertise to deliver top-quality, eco-friendly Exhibition Display Stands that work as hard as you do—so you can focus on making meaningful connections at your next event.
