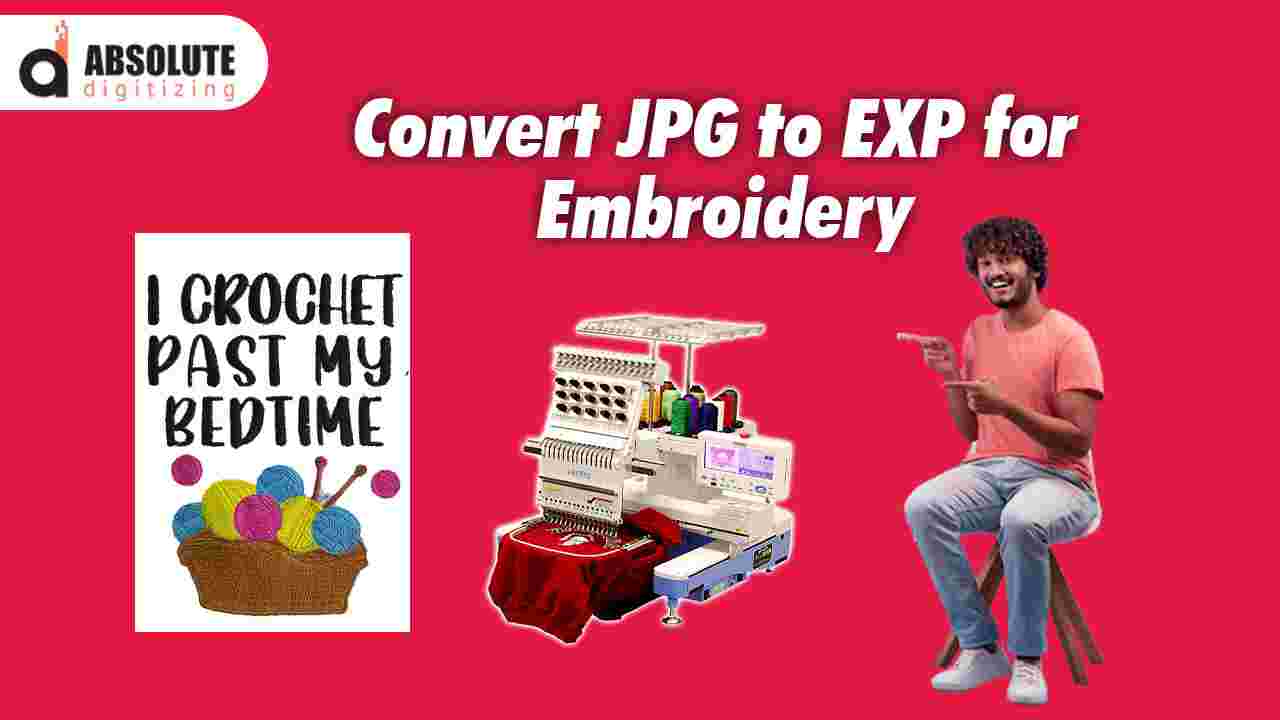
If you've ever wanted to turn a JPG image into an EXP embroidery file, you know it’s not as simple as just changing the file extension. Embroidery machines need specially digitized files to stitch designs accurately—and that’s where conversion tools and techniques come in.
In this guide, we’ll walk you through the best methods to convert JPG to EXP for embroidery, whether you're using auto-digitizing software, professional services, or free tools. By the end, you’ll know exactly how to get crisp, stitch-ready EXP files for your embroidery projects.
Why Convert JPG to EXP?
Before jumping into the steps, let’s clarify why you’d need an EXP file in the first place.
- EXP is a stitch file format used by Melco and Bernina embroidery machines.
- Unlike JPG (a raster image), EXP contains stitch instructions—like stitch type, direction, and density.
- A properly digitized EXP file ensures smooth, pucker-free embroidery.
If you just load a JPG directly into an embroidery machine, it won’t work—you need a digitized EXP file.
Method 1: Using Professional Digitizing Software
The most reliable way to convert JPG to EXP is by using embroidery digitizing software. Here’s how:
Step 1: Choose Your Software
Popular options include:
- Wilcom EmbroideryStudio (Industry standard, but expensive)
- Hatch Embroidery (User-friendly, great for beginners)
- SewArt (Auto-digitizing, budget-friendly)
Step 2: Import Your JPG File
- Open your software and select "Import Image" or "New Design."
- Upload your JPG file.
Step 3: Digitize the Image
- Auto-digitizing (Quick but less precise):
- Click "Auto-Digitize" (available in Hatch & SewArt).
- Adjust settings like stitch type (satin/fill) and density.
- Manual Digitizing (Best for professional results):
- Trace the design using manual tools (nodes, stitch points).
- Set underlay stitches for stability.
Step 4: Save as EXP
- Go to "File" > "Save As."
- Select EXP as the file format.
- Adjust machine settings if needed (hoop size, stitch count).
Pros & Cons:
✔ High-quality, customizable results
✔ Best for complex designs
❌ Expensive software (Wilcom can cost $1,000+)
❌ Steep learning curve for beginners
Method 2: Using Online Auto-Digitizing Tools
If you don’t want to buy expensive software, online converters can help.
Step 1: Find a Reliable JPG-to-EXP Converter
Some options:
- Embird Online (Paid but accurate)
- Stitchize (Free trial available)
- SewWhatPro (Affordable alternative)
Step 2: Upload Your JPG File
- Go to the website and upload your image.
Step 3: Adjust Digitizing Settings
- Select stitch type (fill, satin, running).
- Set stitch density (higher for thicker fabrics).
- Choose underlay options (for better adhesion).
Step 4: Download the EXP File
- Preview the design.
- Click "Download EXP" and save it.
Pros & Cons:
✔ No software installation needed
✔ Cheaper than professional programs
❌ Less control over stitch details
❌ May require manual cleanup
Method 3: Hiring a Professional Digitizing Service
If you need perfect results without the hassle, outsourcing to a digitizing service is the best choice.
Step 1: Choose a Service
Top recommendations:
- Absolute Digitizing (High-quality, fast turnaround)
- Digitizing Buddy (Affordable, great for simple designs)
- Cool Embroidery Designs (Creative, custom digitizing)
Step 2: Submit Your JPG File
- Upload your image on their website.
- Specify details like:
- Fabric type (hats, shirts, etc.)
- Stitch preferences (3D puff, flat stitches)
- Size & color changes
Step 3: Receive & Test the EXP File
- Most services deliver within 12-24 hours.
- Load the EXP file into your machine and test stitch before bulk production.
Pros & Cons:
✔ Flawless, professional-quality files
✔ Saves time & avoids digitizing errors
❌ Costs more than DIY methods
Method 4: Free Alternatives (Limited but Useful)
If you're on a tight budget, some free tools can help:
Step 1: Use Ink/Stitch (Free Plugin for Inkscape)
- Install Inkscape (free vector software).
- Add the Ink/Stitch extension.
- Trace your JPG and export as EXP.
Step 2: Try MyEditor (Free Basic Digitizing)
- Limited but works for simple designs.
Pros & Cons:
✔ 100% free
❌ Not suitable for complex designs
❌ Requires manual adjustments
Which Method Should You Choose?
Method | Best For | Cost |
| Digitizing Software | Professionals, complex designs | $$$ |
| Online Converters | Quick, simple designs | $$ |
| Hiring a Service | Perfect results, no hassle | $$-$$$ |
| Free Tools | Beginners, basic projects | $0 |
Tips for Best Results
🔹 Use high-resolution JPGs (300+ DPI for clean edges).
🔹 Simplify complex designs before digitizing.
🔹 Test stitch on scrap fabric before final use.
🔹 Adjust stitch density based on fabric type.
Final Thoughts
Converting JPG to EXP isn’t just about file conversion—it’s about proper digitizing for smooth embroidery. Whether you:
- DIY with software (for full control)
- Use online tools (for quick results)
- Hire a pro (for flawless files)
…the right method depends on your budget, skill level, and project needs.
Which method will you try? Let us know in the comments!
FAQs
Q: Can I convert JPG to EXP for free?
A: Yes, with Ink/Stitch or MyEditor, but results may need manual fixes.
Q: Why does my EXP file look distorted?
A: Low-resolution JPGs or incorrect digitizing settings can cause this.
Q: How much does professional digitizing cost?
A: Typically $10–$50 per design, depending on complexity.


